 English
 Español
 中文
中文News
Home / News / Industry News / How to Solder Copper Pipes and Fittings: Step-by-Step Guide for Strong Joints
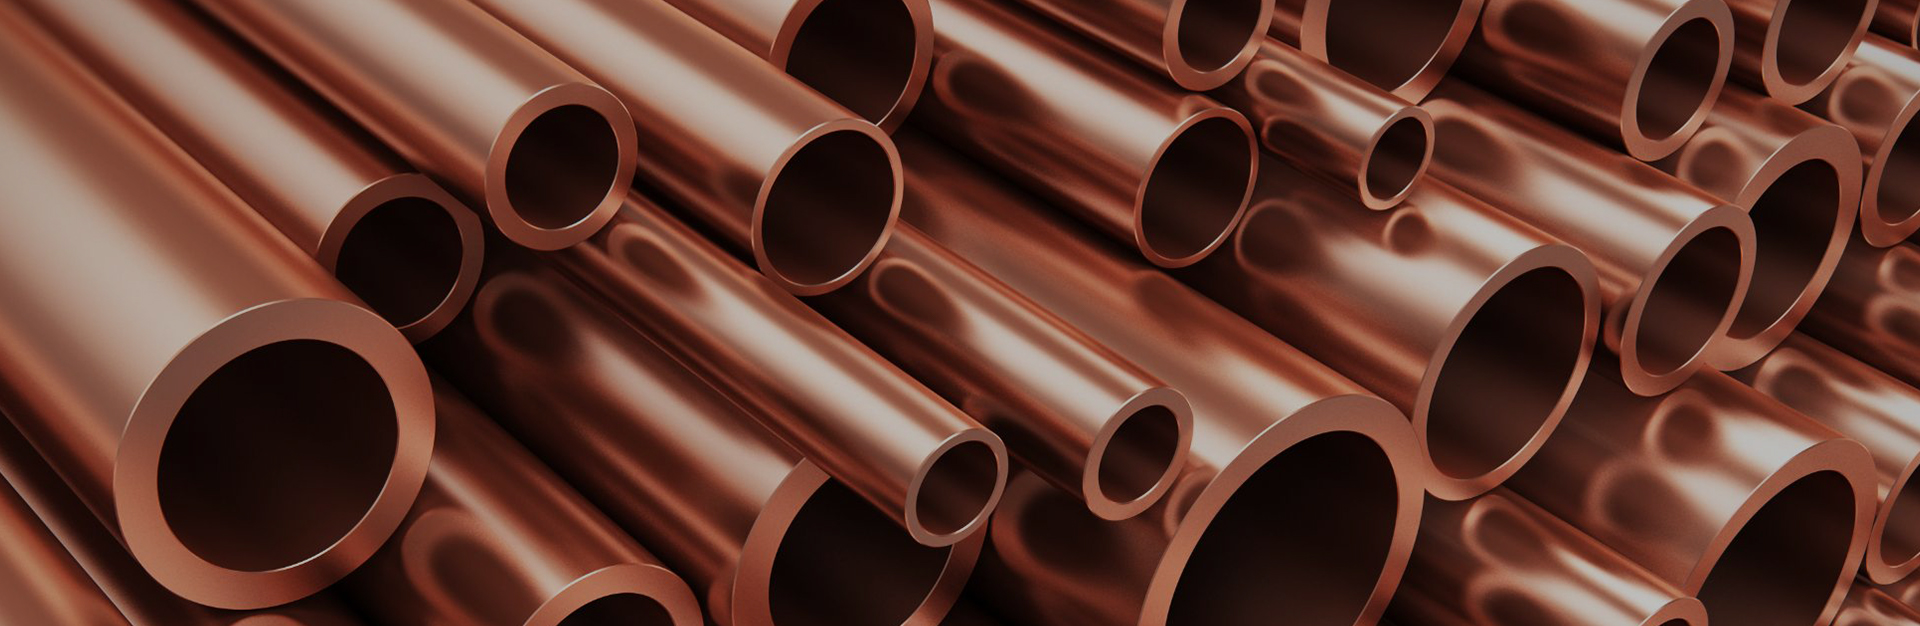
A soldered copper joint that weeps two days after the water is turned back on almost never failed because of the flame. In practice, the cause is nearly always the same trio: a surface that was not truly clean, flux applied too thick or in the wrong place, or heat aimed at the wrong spot for the wrong length of time. All three are controlled before the torch is ever lit. This guide walks through the full process of soldering copper pipes and fittings — cutting, cleaning, fluxing, heating, feeding solder, and pressure testing — and explains why each step matters from a materials standpoint, not just a mechanical one.
Soft solder does not glue copper together. It is drawn into the engineered gap between the outside of the pipe and the inside of the fitting cup — usually only a few thousandths of an inch — and bonds to the copper surface. This wicking behavior, known as capillary action, works only when molten solder can wet the metal. Oxide films, mill scale, oil from handling, and polishing dust all block wetting, which is why cleaning and fluxing dominate the entire process.
Flux has two jobs. It chemically removes the light oxide layer that reforms on freshly cleaned copper within minutes, and it shields the joint from further oxidation while the flame heats the assembly. What flux cannot do is strip heavy oxidation or remove embedded dirt. If a tube end still looks dull or discolored after scrubbing, the cleaning is not finished, and no amount of extra flux or heat will rescue that joint.
Fit matters as much as the list. A fitting brush that is even one size off will not reach the cup surface, and a worn cutter wheel crushes soft tube instead of shaving it. Choose properly sized wrought copper fittings and connectors with smooth, uniform cups, because rough or undersized internal surfaces disturb the capillary gap that the whole technique depends on.
Work through the sequence in order; each step protects the one after it. The same process applies whether you are joining a single repair coupling or assembling a full run, and it pairs well with this broader step-by-step guide to installing copper tubing if you are also planning hangers, slope, and support spacing.
Cut the tube square with a rotary cutter, tightening gradually so the wheel does not crush the wall. Ream the inside and outside edges until the bore is smooth; a leftover burr narrows the passage and creates turbulence that can erode a joint over time. Mark the depth of the fitting cup on the pipe with a marker so you can confirm full seating before heat goes anywhere near it.
Sand the pipe end with emery cloth until uniform bright copper shows across the entire depth that will enter the cup. Brush the inside of the fitting cup with the matching brush until it is equally bright. From this point on, handle the parts only by the tube body or the fitting exterior; fingerprints leave oil films that solder will not wet.
Brush a thin, even film of flux onto the cleaned pipe end. Extra flux does not improve the joint; it boils out under the flame, spatters, and leaves residue that is harder to remove. Push the pipe fully into the cup with a slight twist to spread the flux evenly, wipe away the squeeze-out, and do not move the joint again — twisting after assembly breaks the flux film you just built.
Direct the flame at the middle of the fitting cup, where the copper mass is greatest, and keep it moving in small circles so heat soaks evenly into both the fitting and the pipe inside it. Touch the solder wire to the seam on the side away from the flame. Cold solder simply sits there; when the seam reaches temperature, the solder melts instantly on contact and is pulled into the gap. For common residential sizes, this takes roughly ten to thirty seconds with a propane flame.
Feed solder at the seam where the pipe enters the cup and allow capillary action to carry a continuous ring around the joint. On a horizontal joint, work around the circumference; on a vertical joint, start at the lowest point and let the solder climb. A properly filled joint shows a small, even fillet at the mouth of the fitting with no drips on the hidden side, which confirms the cup filled all the way through.
Leave the joint completely still while it solidifies. Solder passes through a pasty stage before going solid, and any movement during that window produces a weak, crystallized joint. Wipe the area with a damp rag while it is still warm to remove flux residue, which is mildly corrosive and will discolor or pit copper if left on. Restore pressure slowly and inspect every joint before walls or insulation go back in place.
Most household water lines use light-wall copper tube, and both annealed (soft) and hard-drawn (rigid) tempers solder with the same technique. Annealed tube is easier to bend and shape but needs careful support so it stays aligned in the fitting; hard-drawn tube holds its line but absorbs heat differently, so expect a slightly longer heat soak. For potable water, choose tube intended for plumbing service — such as C12200 phosphorus-deoxidized copper — because the deoxidized chemistry stays ductile during heating and resists the oxide issues that compromise joints.
The filler metal must also match the service. Soft soldering suits water supply and low-pressure lines, while refrigerant circuits and high-temperature systems generally require brazing with a copper-phosphorus or silver-bearing alloy. The comparison below sums up where each method belongs.
| Joining Method | Working Temperature | Filler Metal | Typical Use |
|---|---|---|---|
| Soft soldering | About 360-470 °F (183-243 °C) | Tin-copper or tin-silver alloy | Potable water lines, drainage, low-pressure plumbing |
| Brazing | About 1190-1500 °F (643-816 °C) | Copper-phosphorus or silver-bearing alloy | HVAC refrigerant lines, high-pressure and high-temperature systems |
| Press connecting | No flame required | Press fitting with sealing element | Occupied buildings and sites where open flame is restricted |
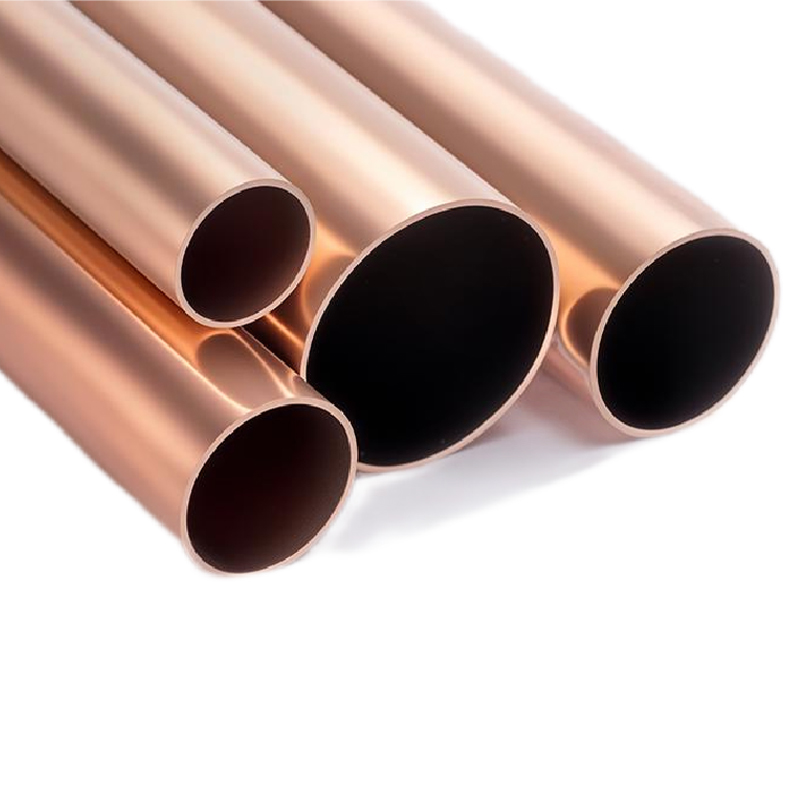 Copper Water Tube for Plumbing and Heating SystemsSoft soldering suits water supply lines, so a corrosion-resistant copper water tube for hot and cold water and heating systems fits the discussion of matching filler and method to the service.View Product →
Refrigeration and air-conditioning piping follows identical prep rules, but the filler and the atmosphere change. Because refrigerant circuits run at higher pressures and temperatures, connections are normally brazed rather than soft soldered, and a nitrogen purge should flow through the tube while the joint is heated. Without the purge, brazing heat forms oxide scale inside the tube that later clogs screens and expansion devices.
Keep air-conditioning and refrigeration tube capped until the moment of assembly. Manufacturers supply refrigeration tube dehydrated and sealed for a reason: moisture that enters a circuit is far harder to remove than moisture wiped off a water line. Standard nominal sizes for split-system and light commercial work fall in the 12 to 28 mm outer-diameter range.
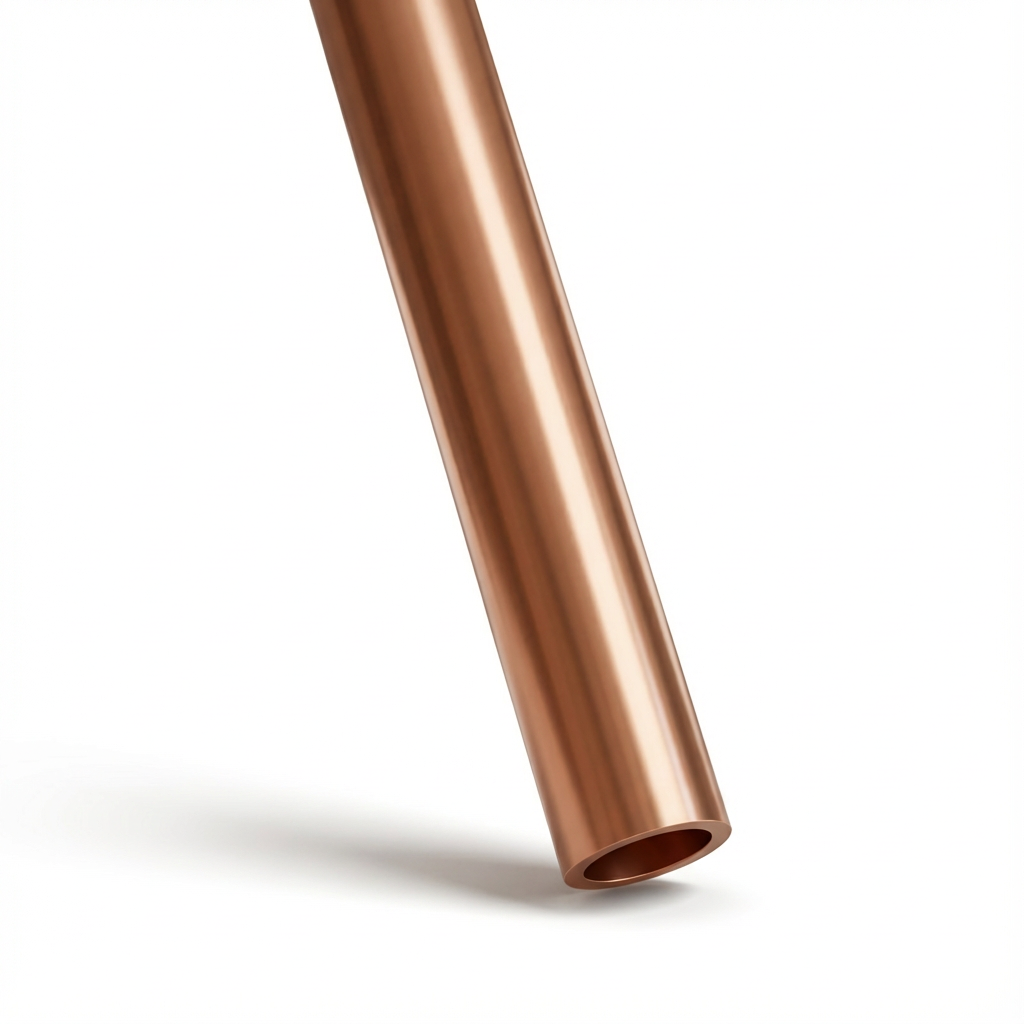 12-28mm TP2 Refrigeration Copper TubeThe preceding text covers sealed, dehydrated refrigeration tube in 12-28mm sizes; this TP2 tube is designed for refrigerant lines in HVAC and commercial refrigeration systems.View Product →
Every one of these faults is invisible from the outside once the joint cools, which is why the inspection habit in step six matters: pressure test before you close anything up.
For plumbing firms and equipment manufacturers, solderability is ultimately a material-consistency question. Uniform wall thickness keeps heat-soak times predictable across thousands of joints; a clean, dry interior keeps contamination out of both water and refrigerant circuits; and consistent chemistry, such as C12200 phosphorus-deoxidized copper, keeps ductility and wetting behavior stable from coil to coil. Compliance with recognized standards such as ASTM B280, EN 12735, and JIS H3300 gives purchasers a verifiable baseline instead of relying on appearance alone.
Zhejiang Jingliang Copper-Tube Products runs the full production chain in-house — melting, extrusion, drawing, rolling, and annealing — so tube temper and surface condition are controlled at every stage rather than bought in. The range covers plumbing, refrigeration, heat-exchange and custom-cut supply forms, supported by SGS certification and batch documentation for engineering review.
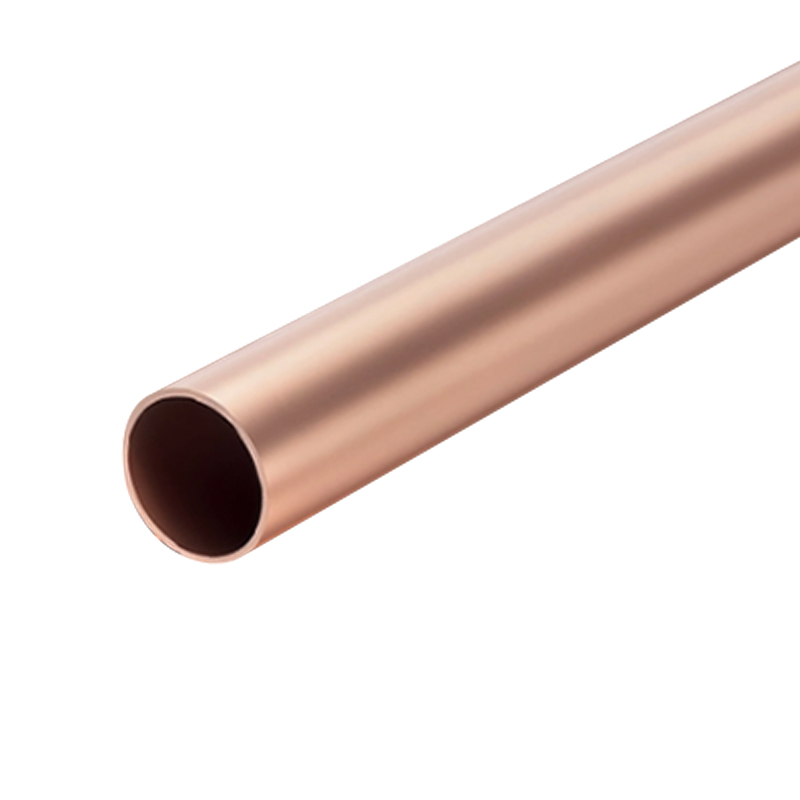 High-Purity Copper Tube in Wide Size RangeConsistent wall thickness, surface, and chemistry make soldering easier, and this copper tube, made through in-house melting to drawing with customization available, provides that consistency.View Product →
Soldering copper is a preparation skill more than a torch skill. Bright, clean metal, a thin film of flux, heat aimed at the fitting mass, solder drawn through the joint by capillary action, and no movement during solidification — these five habits produce joints that pass a pressure test the first time. Keep consumables fresh, match the filler to the service, and start with tube whose wall thickness, surface, and chemistry are consistent, and the flame itself becomes the simplest part of the job.
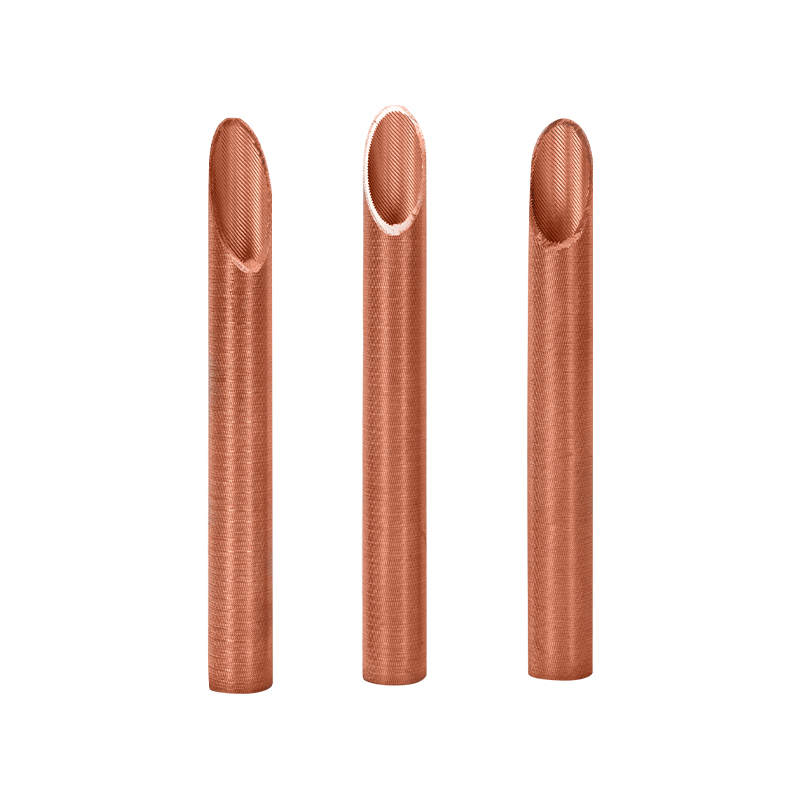
The copper evaporator tube adopts a unique fin design, and the external fins are equipped with specially designed interconnected channels, so that eac...
See Details
Copper Tube is made of high-purity copper material with a copper content of not less than 99.9%. The main material codes are T11050 and C12200(DHP), a...
See Details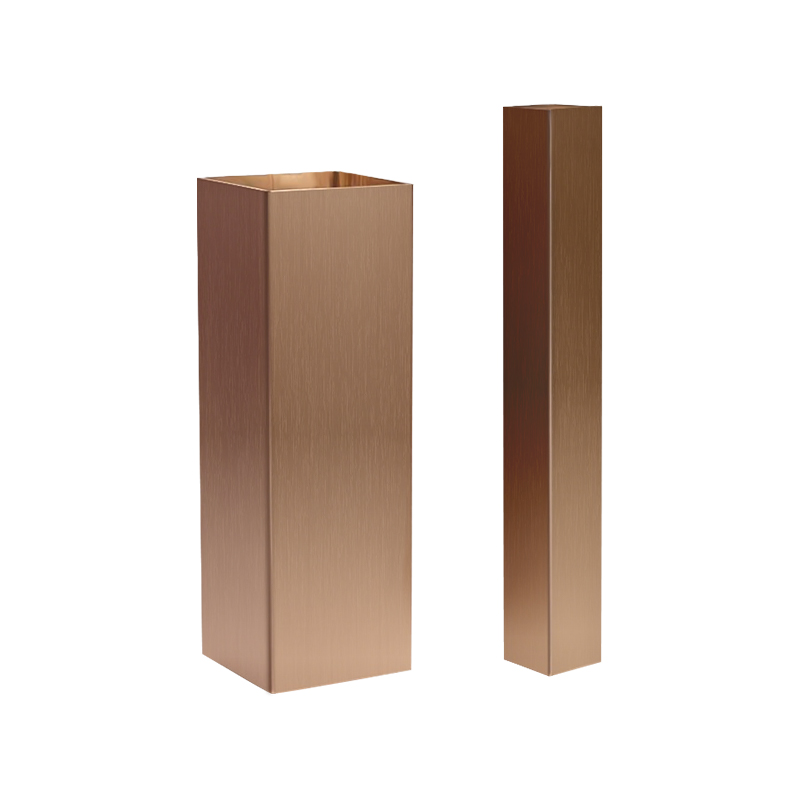
Copper square tube is a metal tube with a hollow square cross-section. It is made of high-purity copper or copper alloy materials through multiple pre...
See Details
The Copper Water Tube produced by our company is a high-performance copper tube suitable for hot and cold water systems and heating applications. It h...
See Details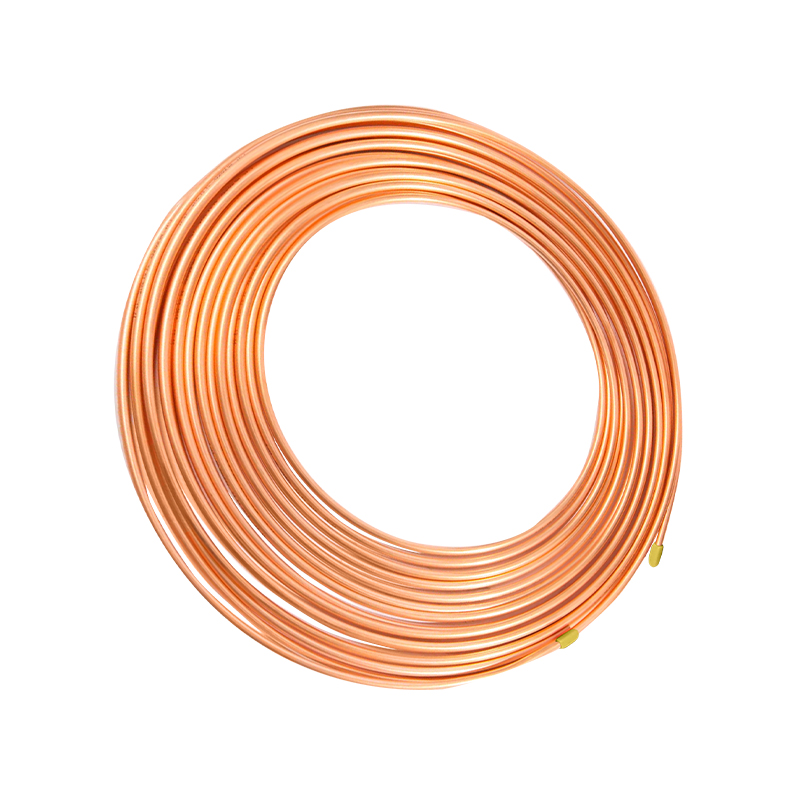
Copper capillary tube is usually manufactured by precision machining, and its dimensional accuracy can reach one thousandth of an inch. This ultra-hig...
See Details
Standard refrigeration copper tube with an outer diameter of 12-28mm is made of high-quality TP2 copper (C12200/DHP), specifically designed for HVAC s...
See Details
 Tangpu Industrial Zone, Shangyu District, Shaoxing City, Zhejiang Province, China
 +86-13567501345
© Zhejiang Jingliang Copper-Tube Products Co., Ltd All rights reserved.

